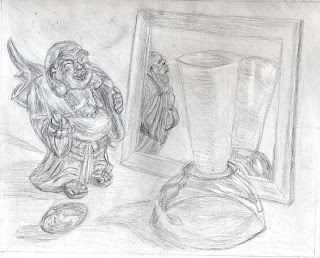
Here is a sample of my drawing skill before The Natural Way to Draw.
It begins with contour and gesture drawing. The blind contour exercise forces you not to take your eyes off the model and draw with minimal looking at the paper. You move your eyes across the contour as if you were running your finger along it. The Natural Way to draw often mentions "touching" every part of your subject with your eyes.
Gesture drawing exercises are in every session throughout the course. I preferred moving subjects to still objects. I enjoyed going to busy parts of the city for people-watching and gesture drawing. When I didn't have time I would substitute TV, YouTube, or objects. In gesture drawing, you don't think, you just draw. I believe the amount of gesture drawing in this book is part of what makes the other techniques learned in the book second nature
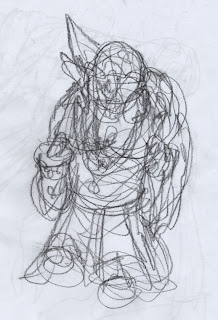
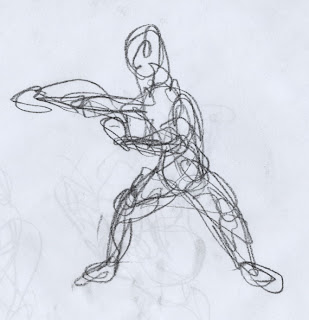
Cross contour is another great exercise in the beginning of the book. It helps train your eye to move across form.

Next is weight. In the first weight exercise you start by drawing the inside 'core' of the objects and draw your way out to the surface. In the next exercise you draw the surface of the object over the weight, making the parts that are further away from your eye darker. This is an exercise in modeling in lithographers crayon.
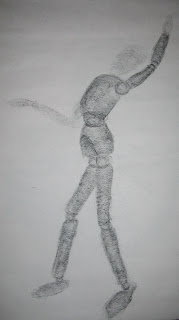
Next is modeling in pen and ink. This combines cross contour and modeling. I used a Bic ball point pen, and it was excellent. This is the point where I started to notice improvement in my drawing.
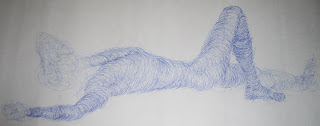
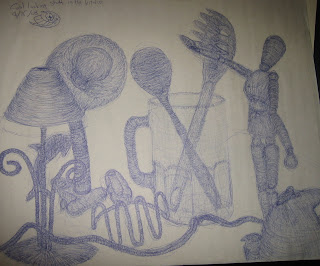
Next is modeling in watercolor. These water color exercises use 3 colors to make a simple gradation. You model with different tones instead of by applying more or less pressure.
Two weeks of drapery study are in the middle. Here, drapery hung from a wall is rendered in three parts, White being the top of a fold, medium gray being the sides of the fold, dark grey being the area flat against the wall. Drapery is also studied in gesture and contour studies.
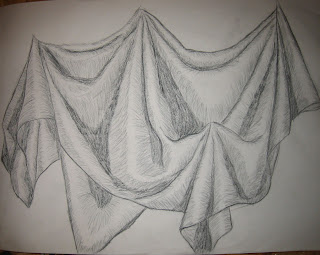
About half way through the book, gesture, contour, and modelling are "welded" into one drawing composed of three drawings, the sustained study. First is an extended gesture of the model, next is a contour drawing is drawn on tracing paper over the gesture, a modelled drawing is drawn on tracing paper over the contour. This basic prossess is repeated in the rest of the book with clothed and nude models. Later the sustained study is further built up by first adding light and shade to the modeling (as opposed to parts that are further away rendered darker). Then it is done in black and white conte crayon, black and white oil, and finally full color.

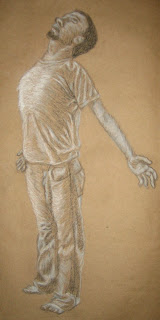
Anatomy drawing exercises are also common later in the book. I posted some of these earlier. In these exercises, bones and muscles are drawn on tracing paper over earlier drawings.
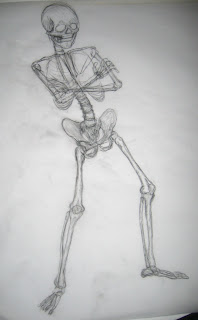
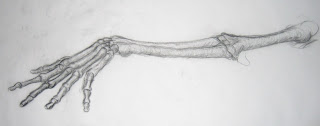
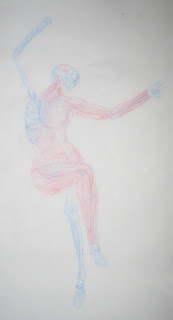
The final exercises in the book are supposed to be done in oil. I replaced oil with photoshop, because I will be continuing in digital mediums and not oil. Gesture drawings became five minute black and white studies in gesture style.
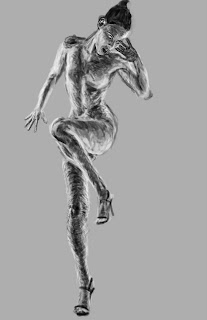
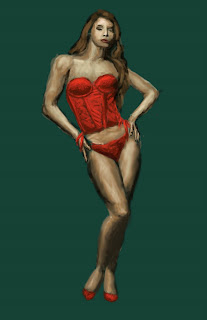

 This is just a brief summary to give you the basic idea of the book, and what helped me the most. Obviously there is a lot more in the book, more than I can fit in a post. So go check it out for yourselves. I swear I am not being paid for this by the publisher.
After doing the $100,000 Drawing Course and Before starting the Natural Way to Draw, I had no structure to my study and I could tell I was not improving. Not only did the Natural Way to Draw tighten my skills, but it gave me a working plan to continue my study. I plan to continue using the 15 hour a week schedule with some of the same exercises and some knew ones.

12 comments:
You provide a very clear explanation, with good examples, of the Natural Way to Draw. Very good post.
Really friggen awesome. Love it man.
David- Thanks, Looking back and writing it out really helped drive home what I had learned.
James - Thanks, I recommend getting a copy and trying it yourself. I can only imagine how skilled I'd be now if I had done this when I was your age.
I've been trying to grasp modelled drawings for years, and your drawings really helped me!
Do you have any of the watercolor modelled drawings that Nicolaides taught in his book?
Hey Jeremiah. just noticed your comment. I'm glad I could help. I still have the watercolors buried away somewhere. I honestly don't think they are very good, tho. If you think this stuff helps you check out the book. Its really cheap too.
Thank you for your sharing of your idea,I'm now working on this book,but "counter drawing"made me stopped,it's so difficult,I'm not sure if I can look on my paper,some first time,I never look at the paper,after I finish it,I can't identify what I draw,and nearly every line I draw was complicated.
so,the book said look at the paper as less as you can,but if I don't look at paper for some time when I'm not drawing(I already know never drawing when i'm looking at paper),I can't know if I was already "out of line" to the level that could not repair.
thanks for this great blog! I am in chapter 3, doing ALL the exercises (awesome - whew!) and - as he said - NOT looking ahead, so am also not looking at your material unless I have already read that part of the book.
Can anyone tell me about the exercise 6 material: Lythographic Crayons? I have been using a black oil pastel stick instead while I am waiting on my order to arrive - no lythographic crayons for sale where I live!
I wouldn't worry about pastel sticks instead of lithographer's crayon. They will have a similar feel. The point is the experience of doing the exercises, not the results, especially in the beginning. The experience will be pretty much the same. Keep working through the book with whatever material you can find and you will improve.
Im about to start this book and i was wondering if its ok to freedraw for the year im doing this or must i strictly stick to these exercises
Basicaly will drawing on my own affect the flow of these exercises
Josh - As long as you are doing the exercises you will see the benefits. I think you should free draw as much as you can. When I was doing the natural way to draw, I was also free drawing. I feel like it helped me incorporate the techniques I was learning into my free drawing style
Awesome! And one more question im really into animating and thats what i would like to excel in any suggestions on exercises in this book thatll help to focus more on or any other books on animation?
Animation is difficult to learn from a book. You really need someone who knows what they are doing to critique your work and point out your mistakes. That being said I would recommend The Animator's Survival Kit by Richard Williams for the nuts and bolts of animation, Cartoon Animation by Preston Blair for drawing characters to animate, and Vilppu Drawing Manual by Glen Vilppu for life drawing (after you do the Natural Way to Draw)
Post a Comment